PVC-U Bonding Made Easy: A Step-by-Step Guide for Installers
PVC-U bonding: A Guide for Installers
PVC-U pipe bonding is a key process in any installation, and getting it right has a direct impact on the durability and functionality of the entire system. It is important for installers to understand the most common mistakes that can be made and to use proven techniques and products. In this article, we will outline how to properly glue PVC and what tools and materials you will need for your job.
How to glue PVC-U correctly?
- Preparation of the elements
Before you start gluing, make sure all the pieces are the right size and up to standard. Measure and mark the required length of pipe, then cut it at right angles using a PVC saw or line saw. Chamfer the pipe ends at a 15° angle to ensure better adhesive adhesion. Use the VDL manual pipe chamfer to ensure precise preparation of the ends. - Surface cleaning
Before applying the adhesive, it is necessary to clean all surfaces thoroughly. There may be contaminants on the pipes, such as grease or oil, which will adversely affect the quality of the joint. Use an effective remover such as Profec PVC and ABS Cleaner to remove any dirt. You can also reach for Griffon Cleaner or Tangit Cleaner, which will perfectly prepare the pipes for bonding. - Adhesive application
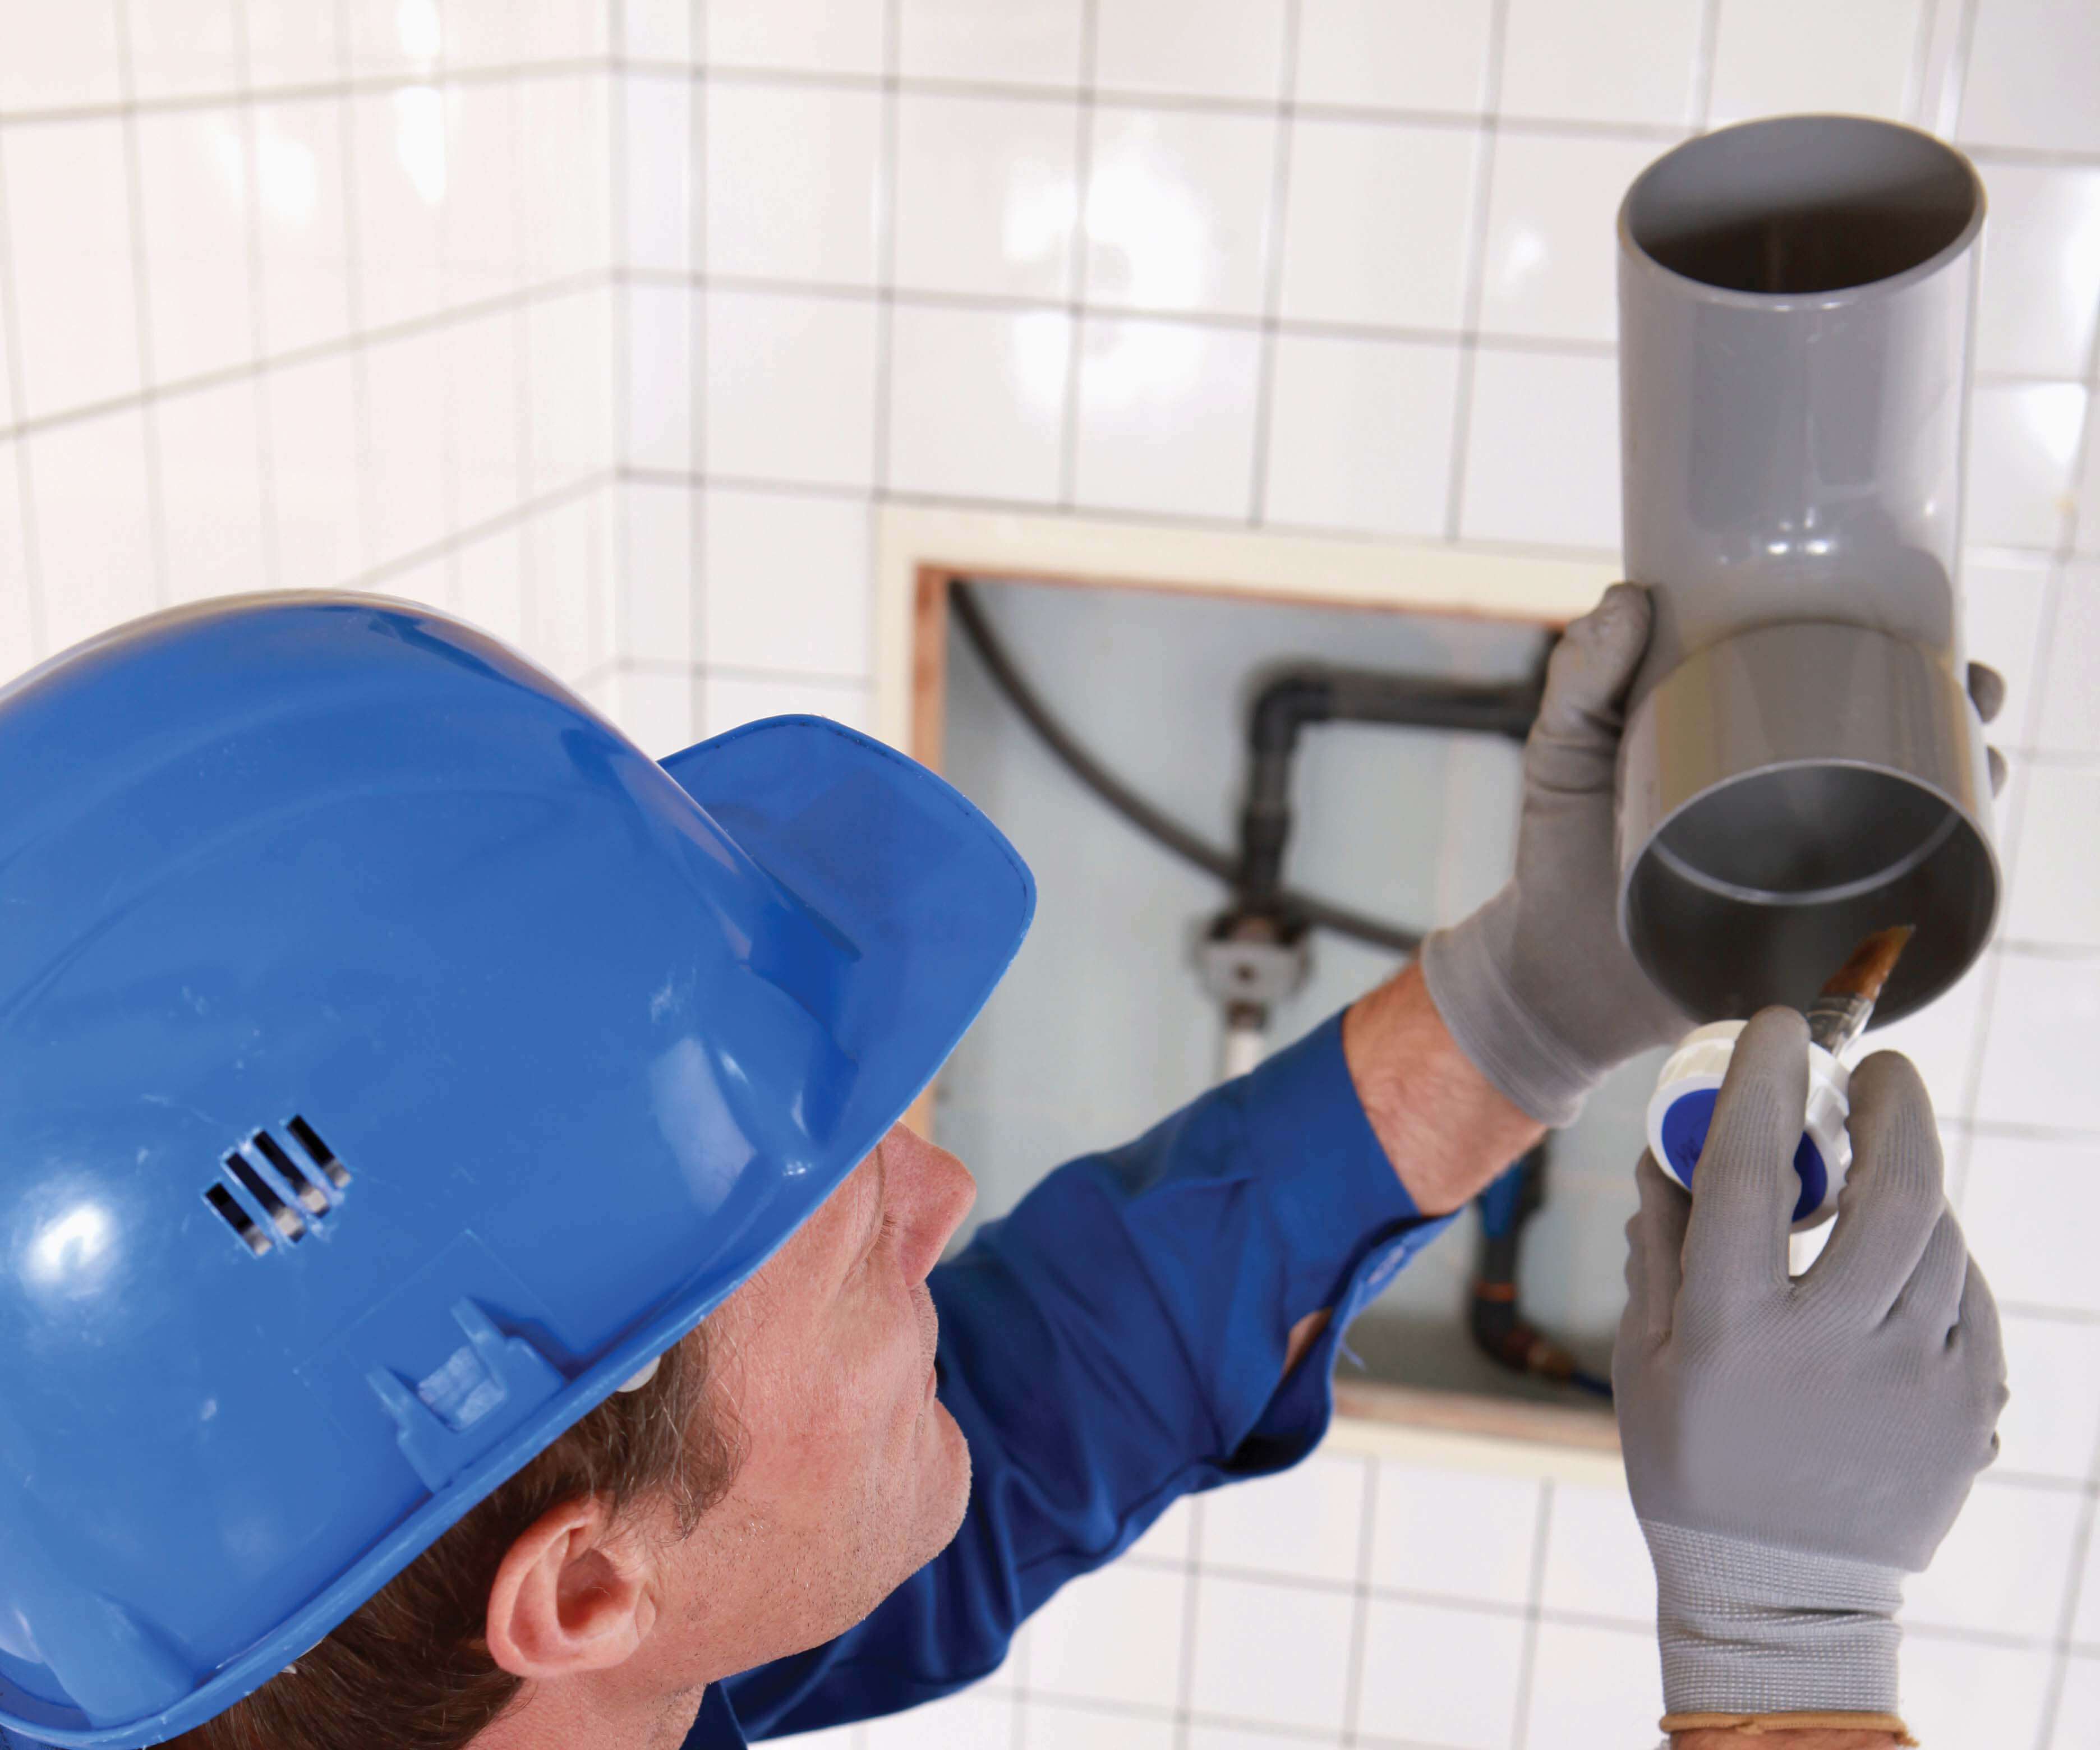
The right amount of adhesive is the key to a lasting connection. Apply the adhesive to the fitting and the pipe, using a brush that can be integrated into the packaging. Make sure the adhesive is evenly distributed. We recommend using products such as Profec PVC Glue with Brush or Tangit PVC Glue, which will ensure a solid connection and are suitable for different applications. - Joining the elements
Once the adhesive has been applied, join the pipes immediately with one smooth movement. Avoid turning or adjusting the joint. If the correct amount of glue has been applied, a ring of glue should be visible on the outside of the pipe and fitting. Remember to remove any excess glue immediately to avoid any possible weakening of the pipe.


PVC-U bonding, although it appears to be a simple process, involves the risk of several common mistakes. For example, a crookedly cut pipe significantly reduces the glued area, which can lead to leaks. And don't forget deburring and chamfering - missing these steps can result in glue scraping during installation.
Another important mistake is the inadequate cleaning of the surface before applying the adhesive. The use of appropriate cleaning products is key to ensure that the pipes are free of debris. Also, don't forget to use adhesives dedicated to specific materials to ensure tight joints. Also, avoid using too little glue - if the characteristic ring does not appear, it means that not enough has been used.
Dry/Cure Times
| DIAMETER PVC (mm) | TEMPERATURE (°C) | Bar<10 (HOURS) | Bar 10 - 15 Bar (HOURS) | Bar 16 - 25 (HOURS) |
|---|---|---|---|---|
| 16 - 75 | >15 | 2 | 8 | 12 |
| 16 - 75 | 5 - 15 | 4 | 12 | 24 |
| 90 - 160 | >15 | 4 | 24 | 48 |
| 90 - 160 | 5 - 15 | 8 | 36 | 72 |
| 200 - 400 | >15 | 8 | 36 | 72 |
| 200 - 400 | 5 - 15 | 16 | 48 | 96 |
Summary
PVC-U bonding is a process that requires precision and proper preparation. By choosing tools such as the VDL hand beveler and high quality adhesives and removers such as Profec and Tangit, you ensure that you and your customers have durable and tight joints. Attention to detail at every stage of the process will help you avoid common mistakes and guarantee a high-quality installation.

